Frequently Asked Questions
How to measure a splashback
It is important to get the perfect measurements prior to ordering your splashback, to avoid any issues occurring when fitting. To make things easier for you, here’s our step by step guide to help you achieve the perfect fit.

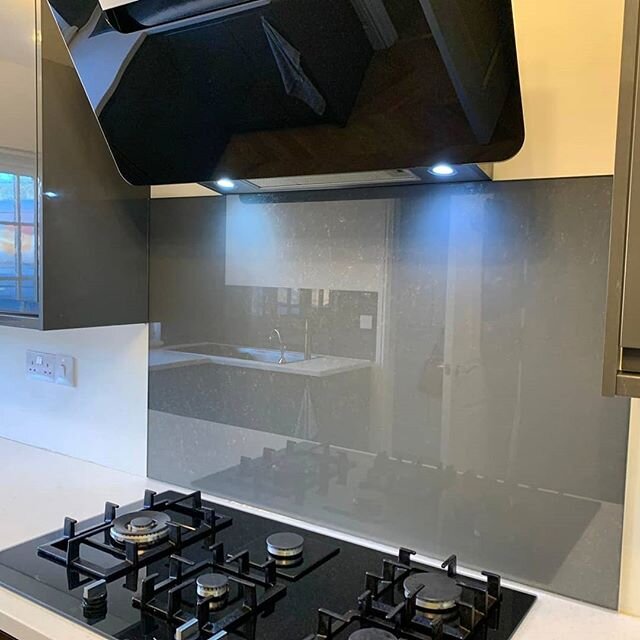
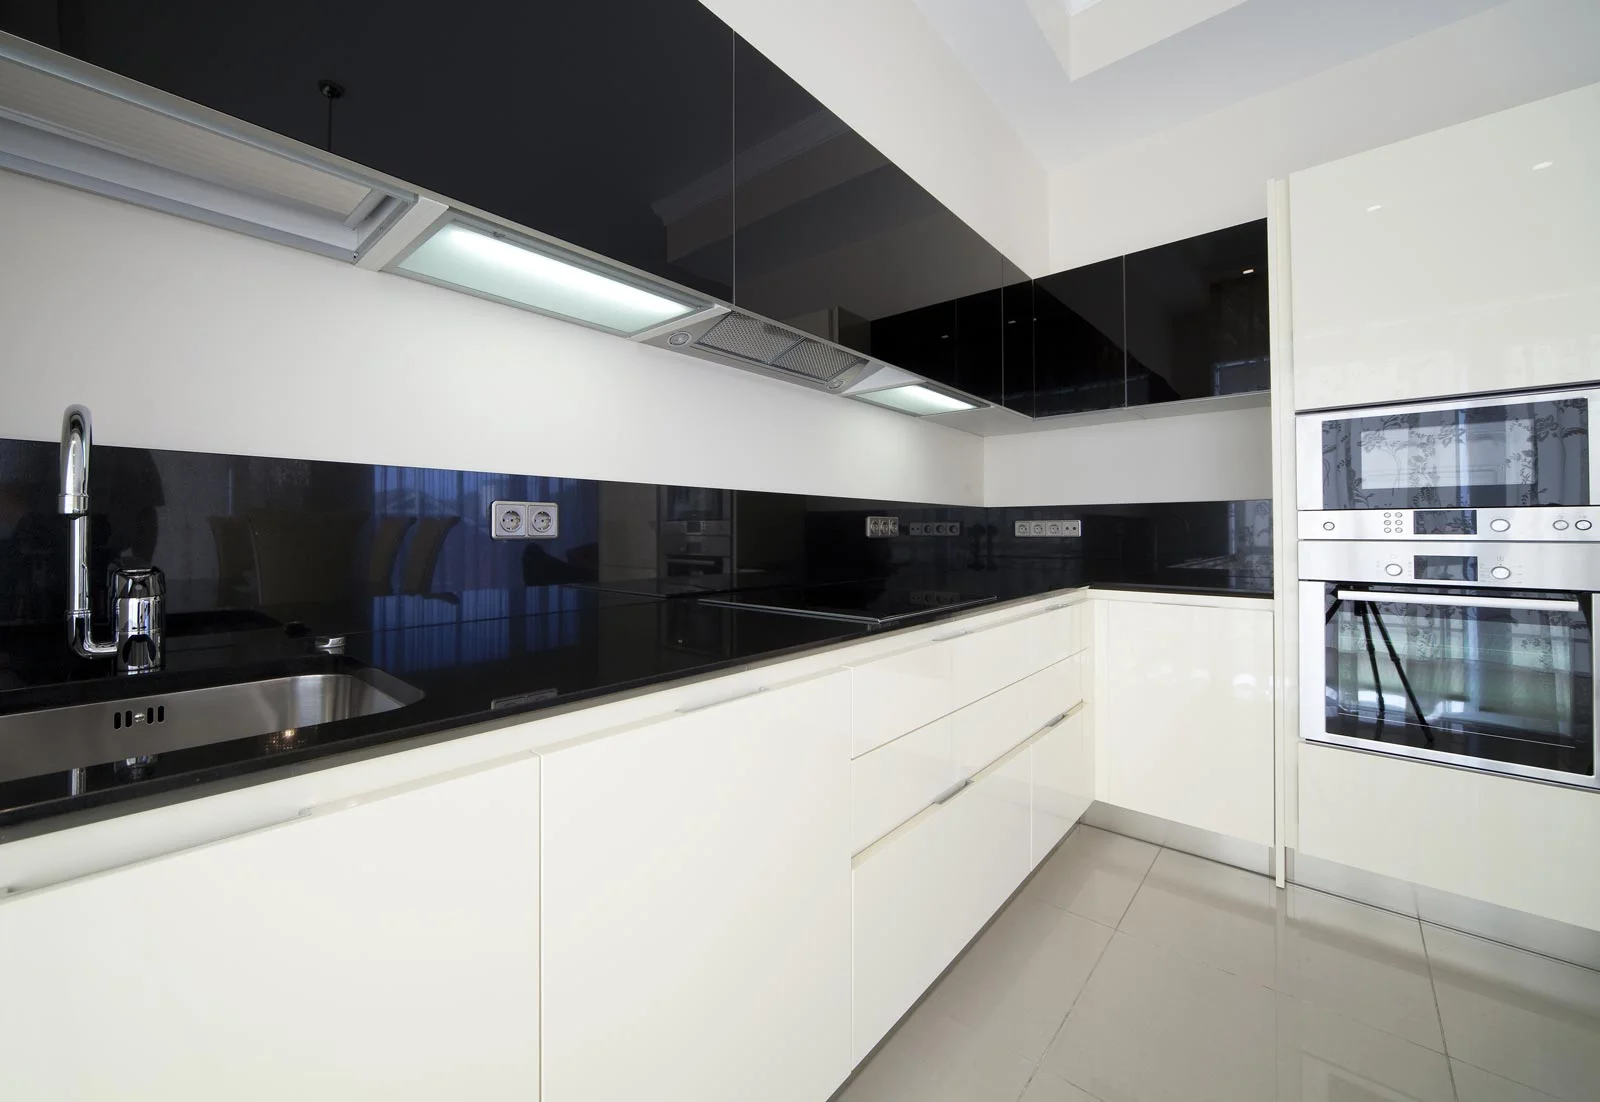
+ What colours can I get for my Splashback?
We have an infinite amount of colours available to choose from, we can colour match all of your favourites from manufacturers such as RAL, Pantone & Dulux.
+ Can I get a custom fitting?
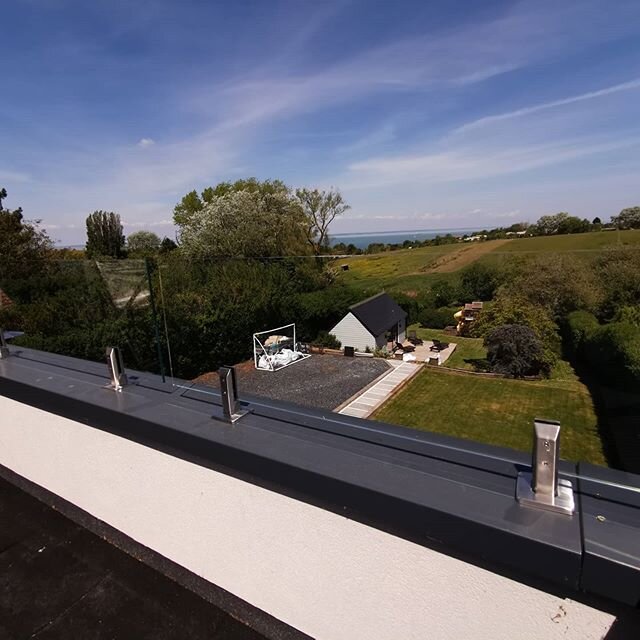
We offer many services, one of which is the ability to professionally template for your new glass using the latest in digital laser measurement. This enables creative splashbacks manufacture your glass so each panel fits neatly together.
We are able to provide this service for external and internal glass projects including balustrade systems, Glass Work Tops, Splash-backs and Glass Door Systems.
+ How long is the process?
Typically once we recieve the order confirmation it takes bewteen 7-10 working days including delivery & fitting.
+ How do I arrange a visit?
Step One - Take rough measurements of the area you would like us to template and include the number of socket cut outs you require.
Step Two - Contact us by phone, email or click here for an instant glass quote to see if our products are within your budget
Step Three - If your happy with your quote, and have confirmed you are happy to proceed with the templating and installation service, an appointment will be made for one of our friendly, experienced and time served fitters to call to your home or business to template and discuss the options available to you.
Step Four - Once our fitters have completed the templating one of our advisers will call you to arrange a date and time for our fitters to return to your home or business and install your new item.
+ Can I fit my own splashback?
The majority of glass splashbacks under 1000mm can be fitted by yourself with ease take care when unpacking your splashback from the parcel, not to knock the edges or corners on hard surfaces. Although toughened glass is extremely strong a harsh impact to the glass may cause a chip or even cause the glass to shatter. When applying adhesive, simply apply blobs of the silicone approximately 50mm in from the edges of the rear of the splashback spacing 200mm apart. Gently push back to the wall until you can feel the silicone taking hold. Once in place allow the silicone to cure for 12 hours You can use silicone to seal around the edges.
+ What are the best ways to measure?
Make sure your tape measure isn’t damaged. Ask a friend to help to confirm the measurements. Write them down and recheck the sizes. Always measure width first then height W x H. Take two measurements for each width (top &bottom) and hight (left & right) and use the smaller measurement. Allow 3mm off the width and height. Leaving you with measurements 3mm smaller than your tight measurements. This is because the glass industry works to a tolerance of +/- 2mm. So if the glass is 2mm too big the glass will still fit. The slight gap will be sealed with the free silicone provided.
+ How do I measure a socket cutout?
With a felt tip pen (non permanent) measure and mark the centre of the socket both left to right and top to bottom with a light cross. Measure from the cross to the nearest wall. Measure from the work top to the cross. Make a sketch and and add these dimensions.
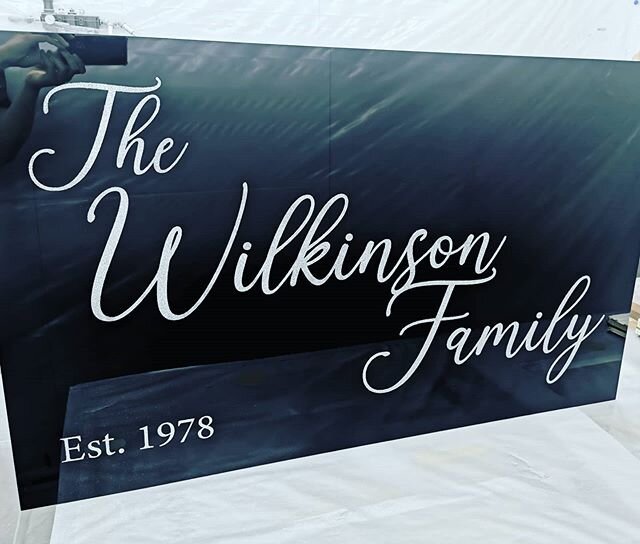
+ What is digital printing?
Stunning and spectacular why not get carried away and let your imagination run away with you when your designing your new kitchen, creative splashbacks can now print photos onto large glass panels — so your kitchen splashback can now feature stunning scenery and eye-catching photography or even a family portrait just simply Supply us with any high resolution image its as simple as that.